Generating iOS certificate and Provisioning profile
An iOS device is only able to run apps approved by Apple and installed through the App Store. To achieve this, Apple ensures that every app run by iOS has a signed Apple Certificate.
Apps installed from the App Store come bundled with a certificate, which the system verifies before it allows the app to run. If there is no signature or if the signature is invalid, the app will not run.
So, you need to generate the iOS certificate and provisioning profile before building the iOS app.
Generating iOS certificate
You need to generate two iOS certificates, viz development and distribution. The major difference lies between them is that the development certificate is required to sign the development version of your app. For example, if you are building the app and want to test it by yourself locally, then you need to sign your app with the development certificate. The distribution certificate is used for signing your iOS app for submission to the App Store or for Ad Hoc distribution. If you want to submit your app to the app store for pushing it live or distributing it, you need to sign your app with a distribution certificate.
To generate the iOS certificate, first, you need to create the Certificate Signing Request (CSR) file. Once you have the CSR file, you can proceed to generate the iOS certificate by following the steps mentioned below:
- Go to your Apple developer account.
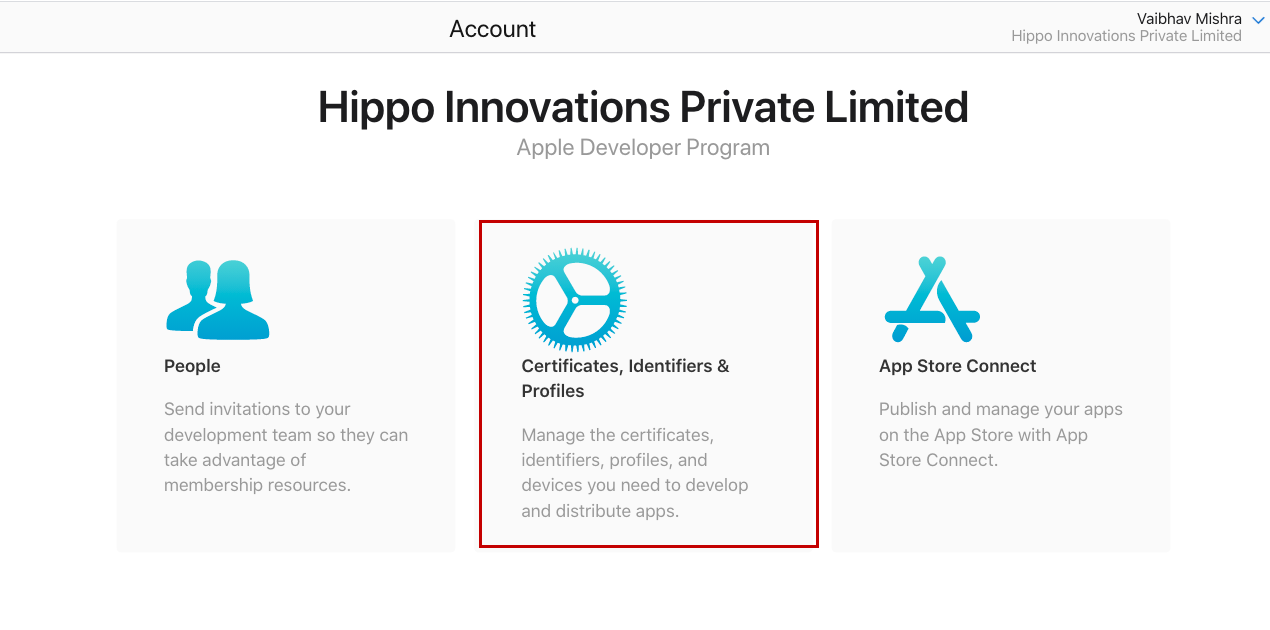
- Click on the Certificates Identifiers & Profiles option as shown in the above image.
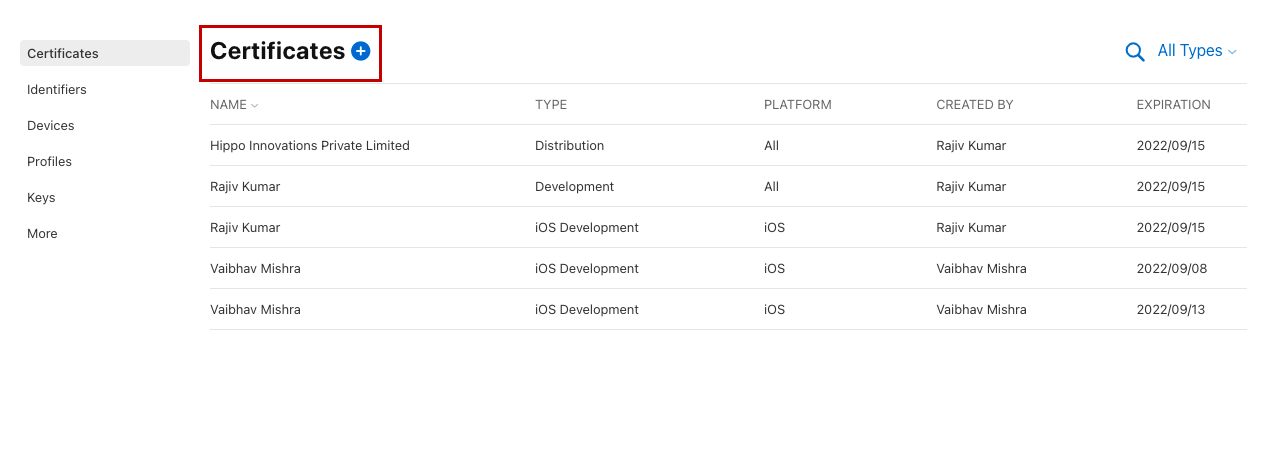
- Click the + (plus) icon in front of the certificates. A page will open up.
- Select the Apple Distribution option. This will create an iOS distribution certificate that will be used to sign your apps for submission to the app store.
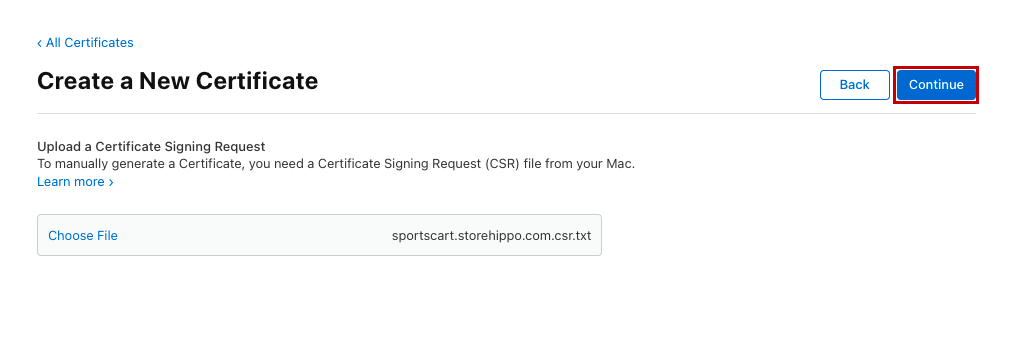
- Now, upload the CSR file and click the Continue button.

- The certificate will be generated. Click the Download button to install it.
- The downloader certificate will have a ".cer" extension. Once the certificate is downloaded, double-click on it so that it gets installed on the keychain access.
Note: The distribution certificate is called ios_distribution.cer.
Creating identifiers
A bundle ID or bundle identifier uniquely identifies an application in Apple's ecosystem. In simple words, no two applications can have the same bundle identifier. To avoid conflicts, Apple recommends using reverse domain name notation for choosing an application's bundle identifier. Follow the steps mentioned below to create an identifier:
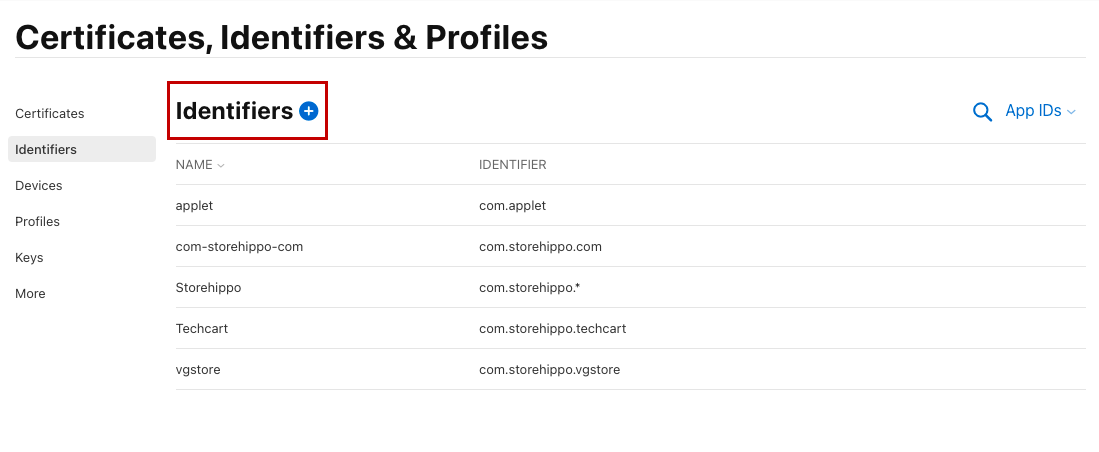
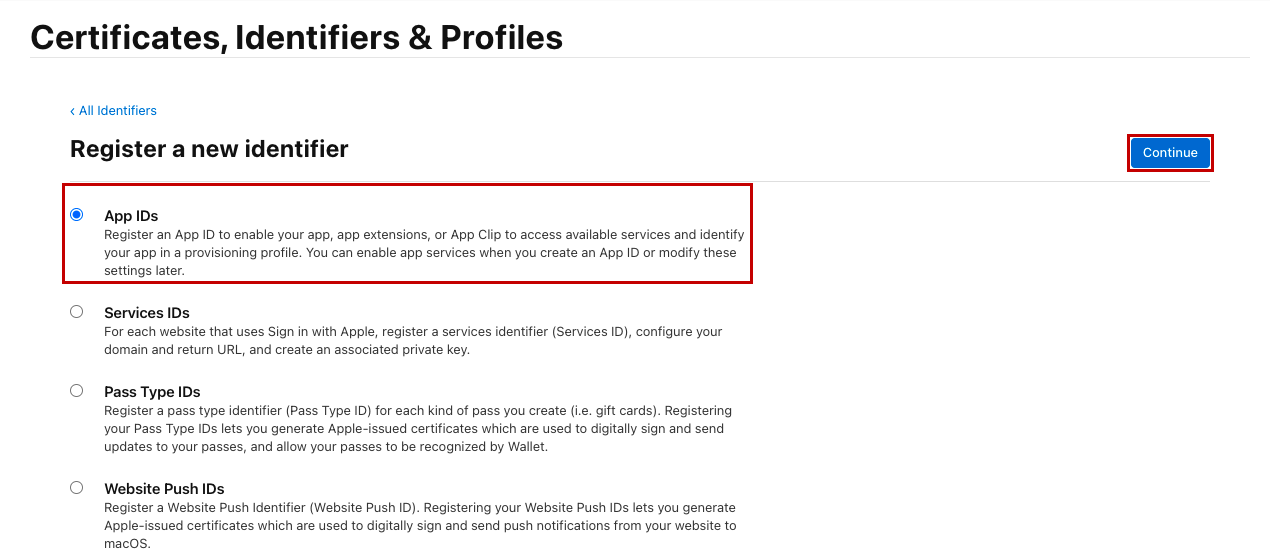
- Go to the Identifiers section and click the + (plus) icon as shown in the image.
- A page will open up. Select the App IDs option and click the Continue button.
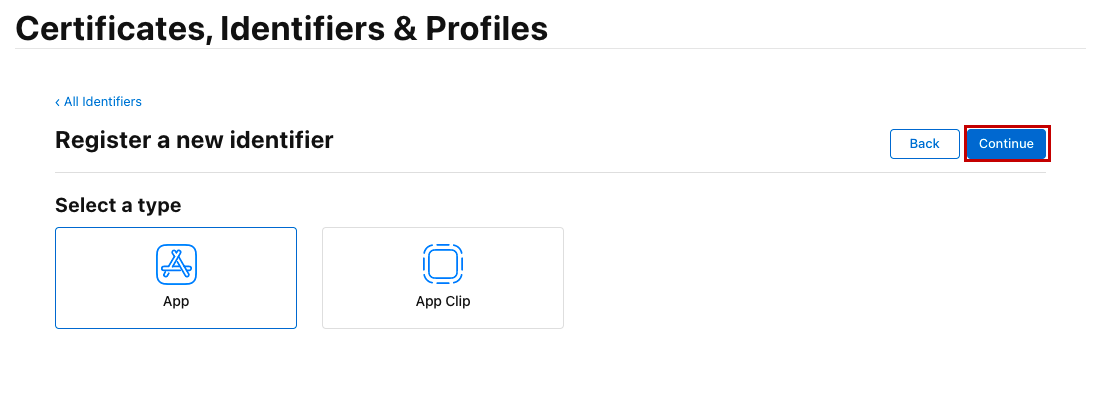
- Select the App from the option and click the Continue button.
- In the Description field, enter the name of the identifier.
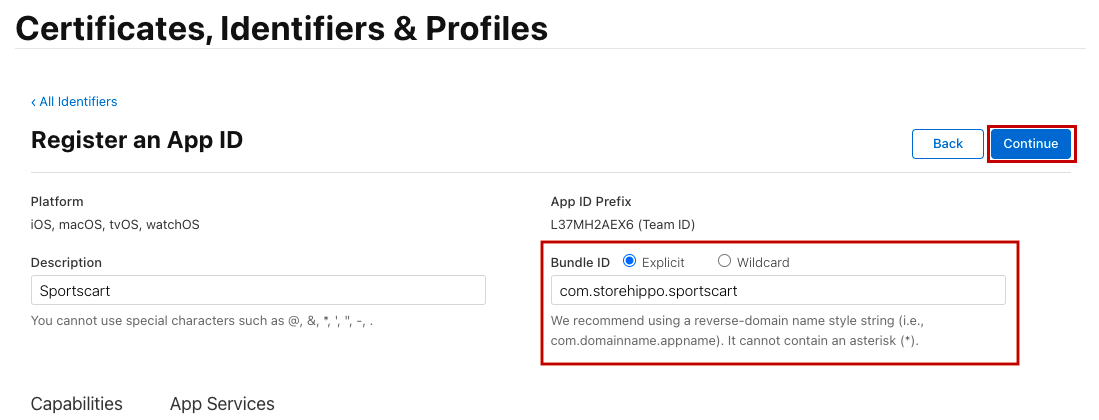
- From the Bundle ID field, select the Explicit option.
- Provide the name of the identifier. It is recommended to use the reverse domain. For example, your domain is "test.com", then use "com.test" as the bundle ID name. Click the Continue button.
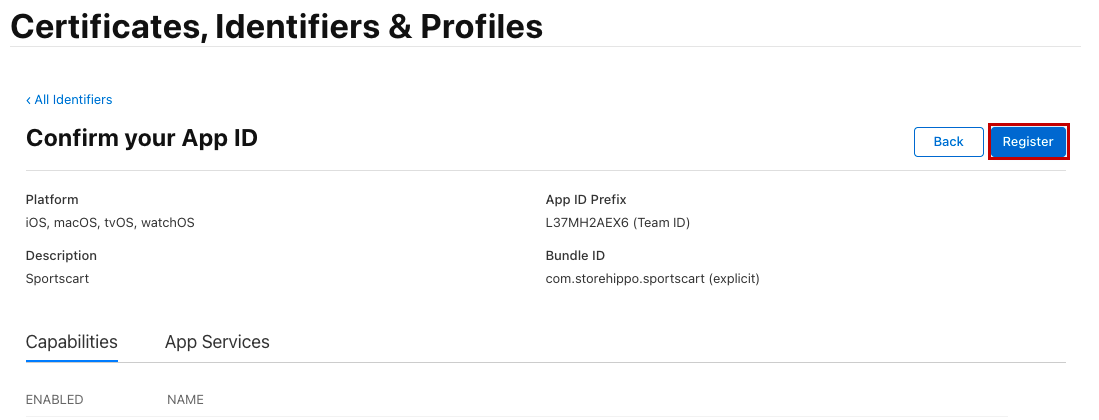
- Now, confirm your bundle ID and click the Register button to register it.
The identifier will be created and you can proceed to create a provisioning profile.
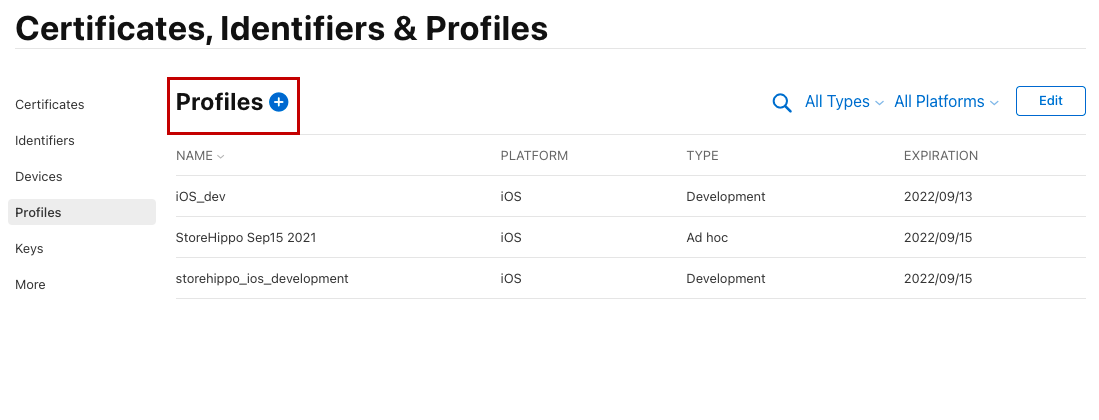
Creating provisioning profile
Now, you need to create a distribution provisioning profile. To do so, follow the steps mentioned below:
- Go to the Profiles section and click the + (plus) icon as shown in the image.
- Select the App Store connect under the Distribution section.
 (1).png")
- Click the Continue button.
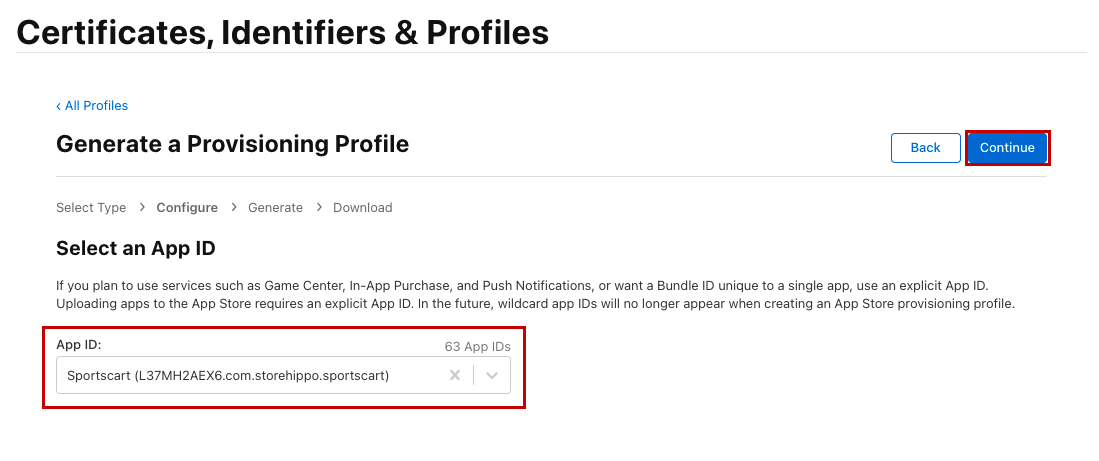
- Select the app ID that you have created and click the Continue button.

- Enter the provisioning profile name and click the Generate button.
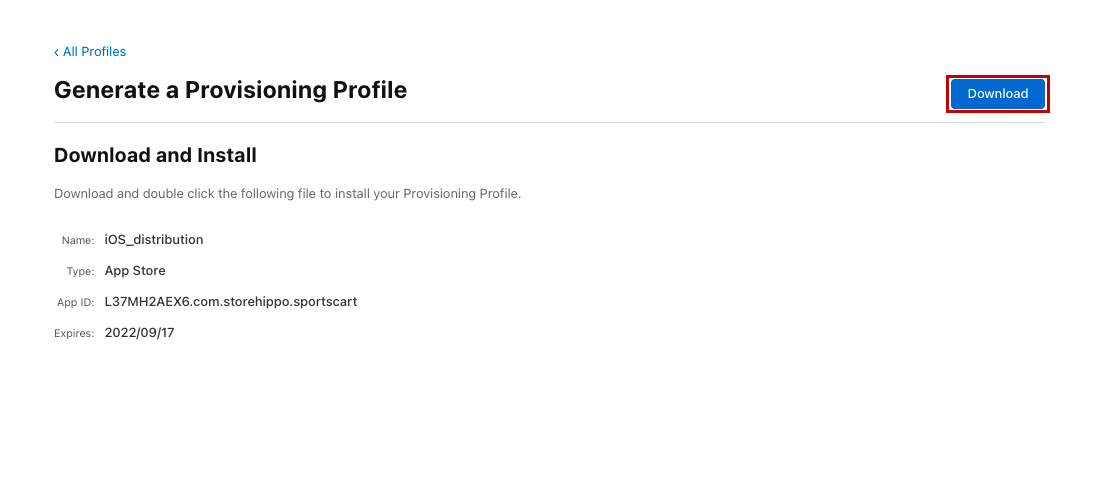
- The provisioning profile will be generated now.
- Click the Download button to download the provisioning profile.
Now, you have a certificate and provisioning profile, you can upload the signing keys and proceed to build the app for submission to the app store.
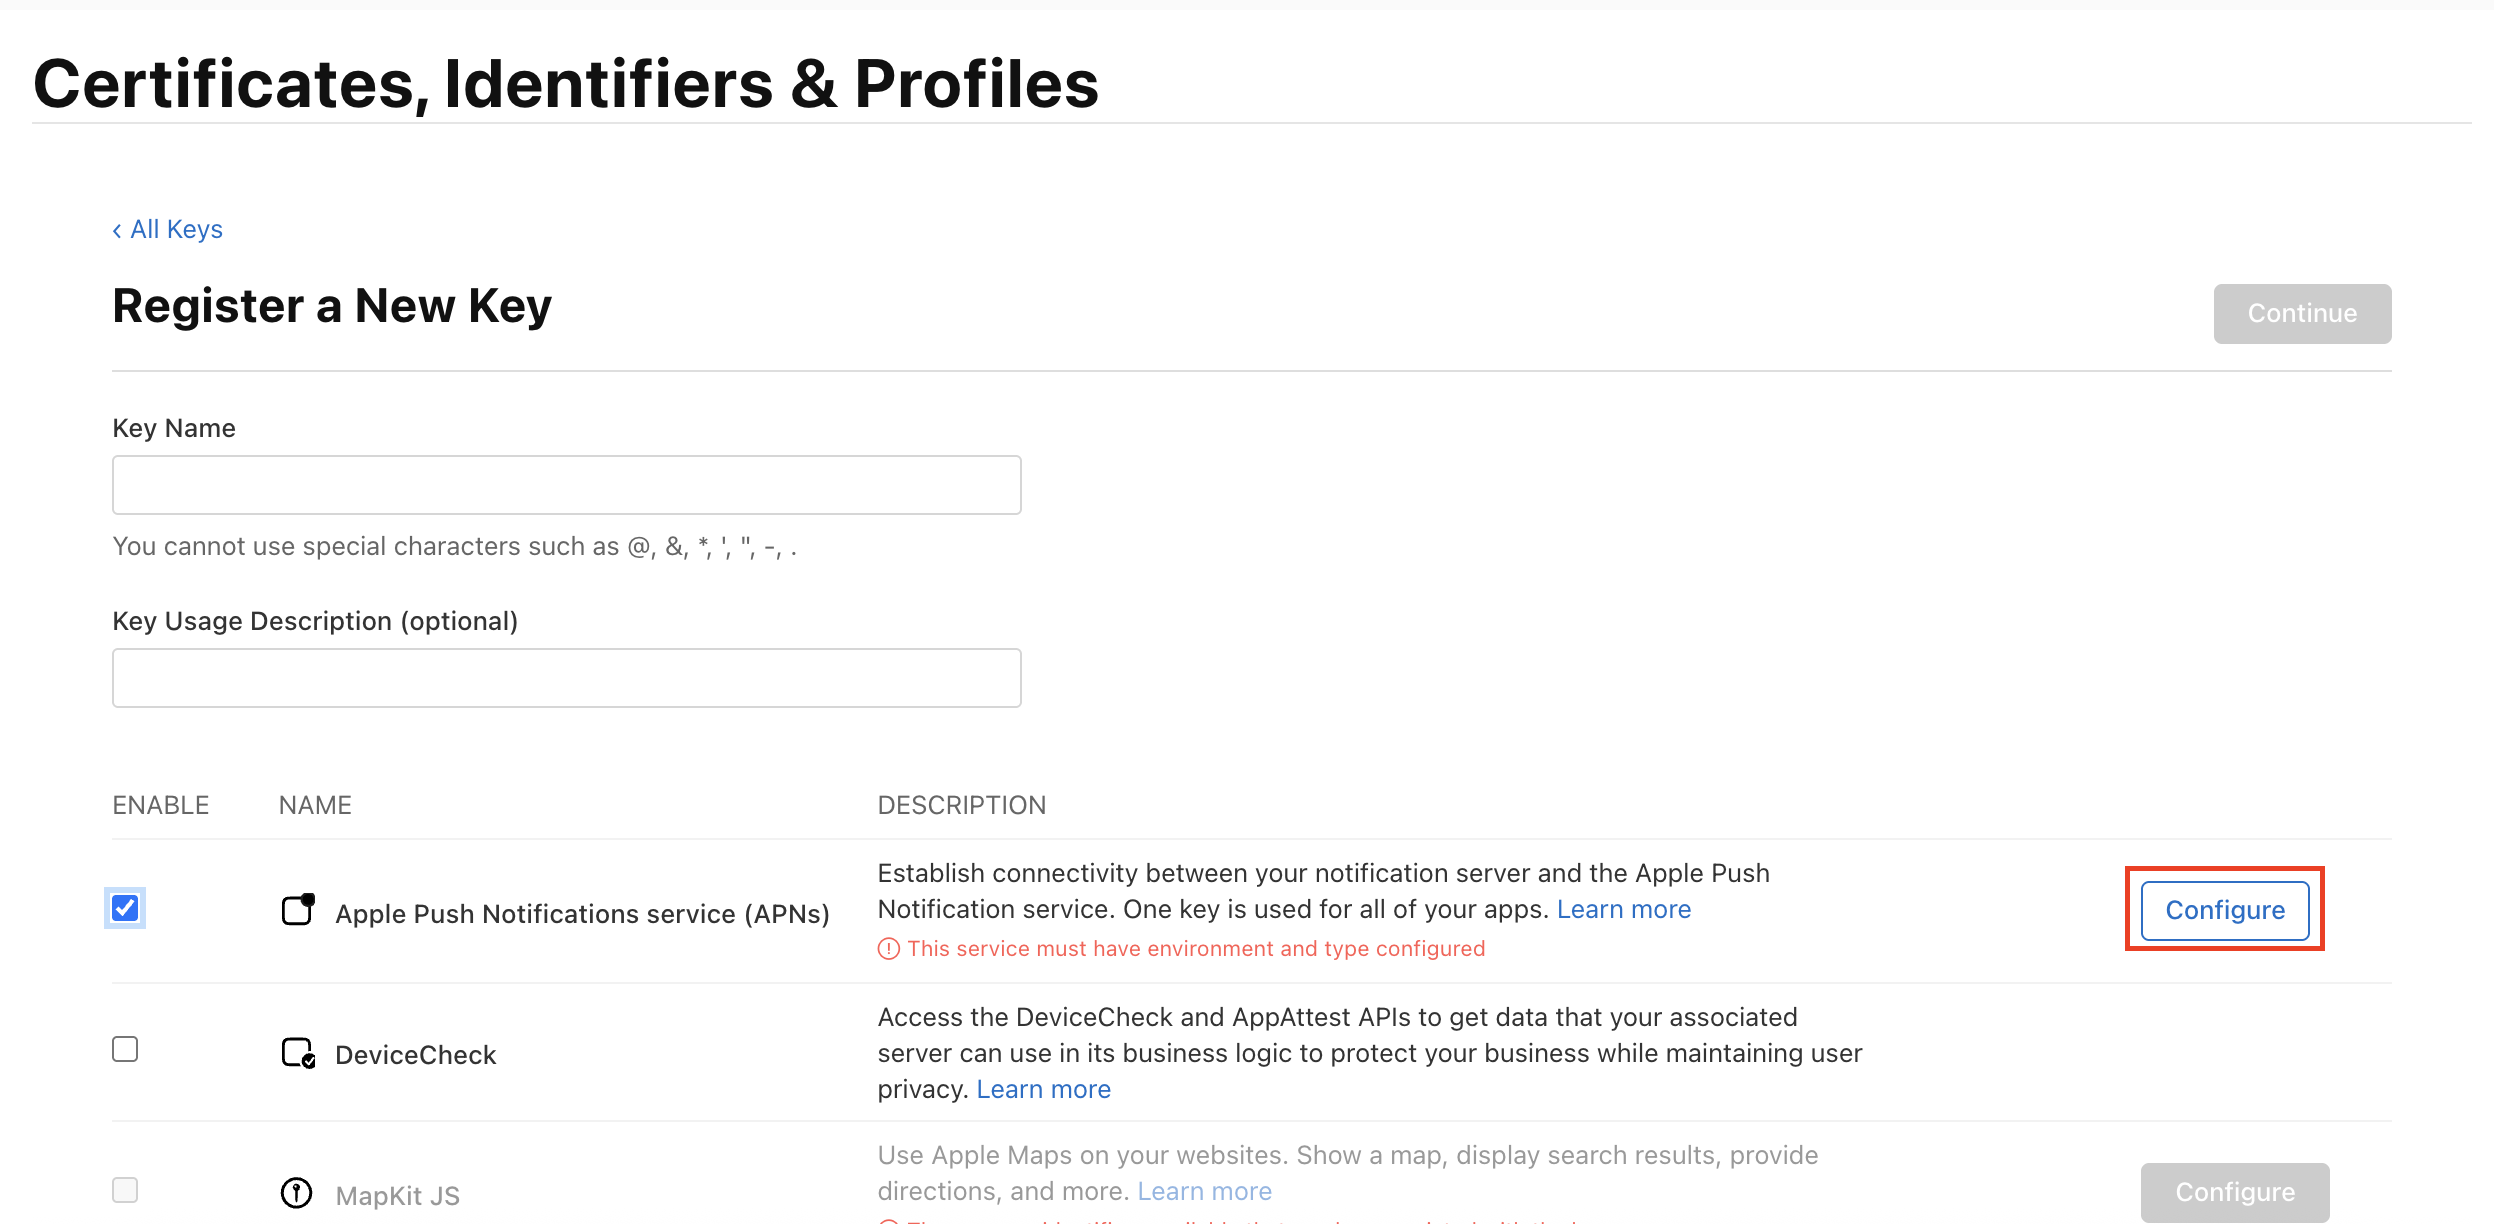
If you require push notifications for your IOS app then you must also require the APNs Auth Key (.p8 file). Follow the below steps to generate the key.
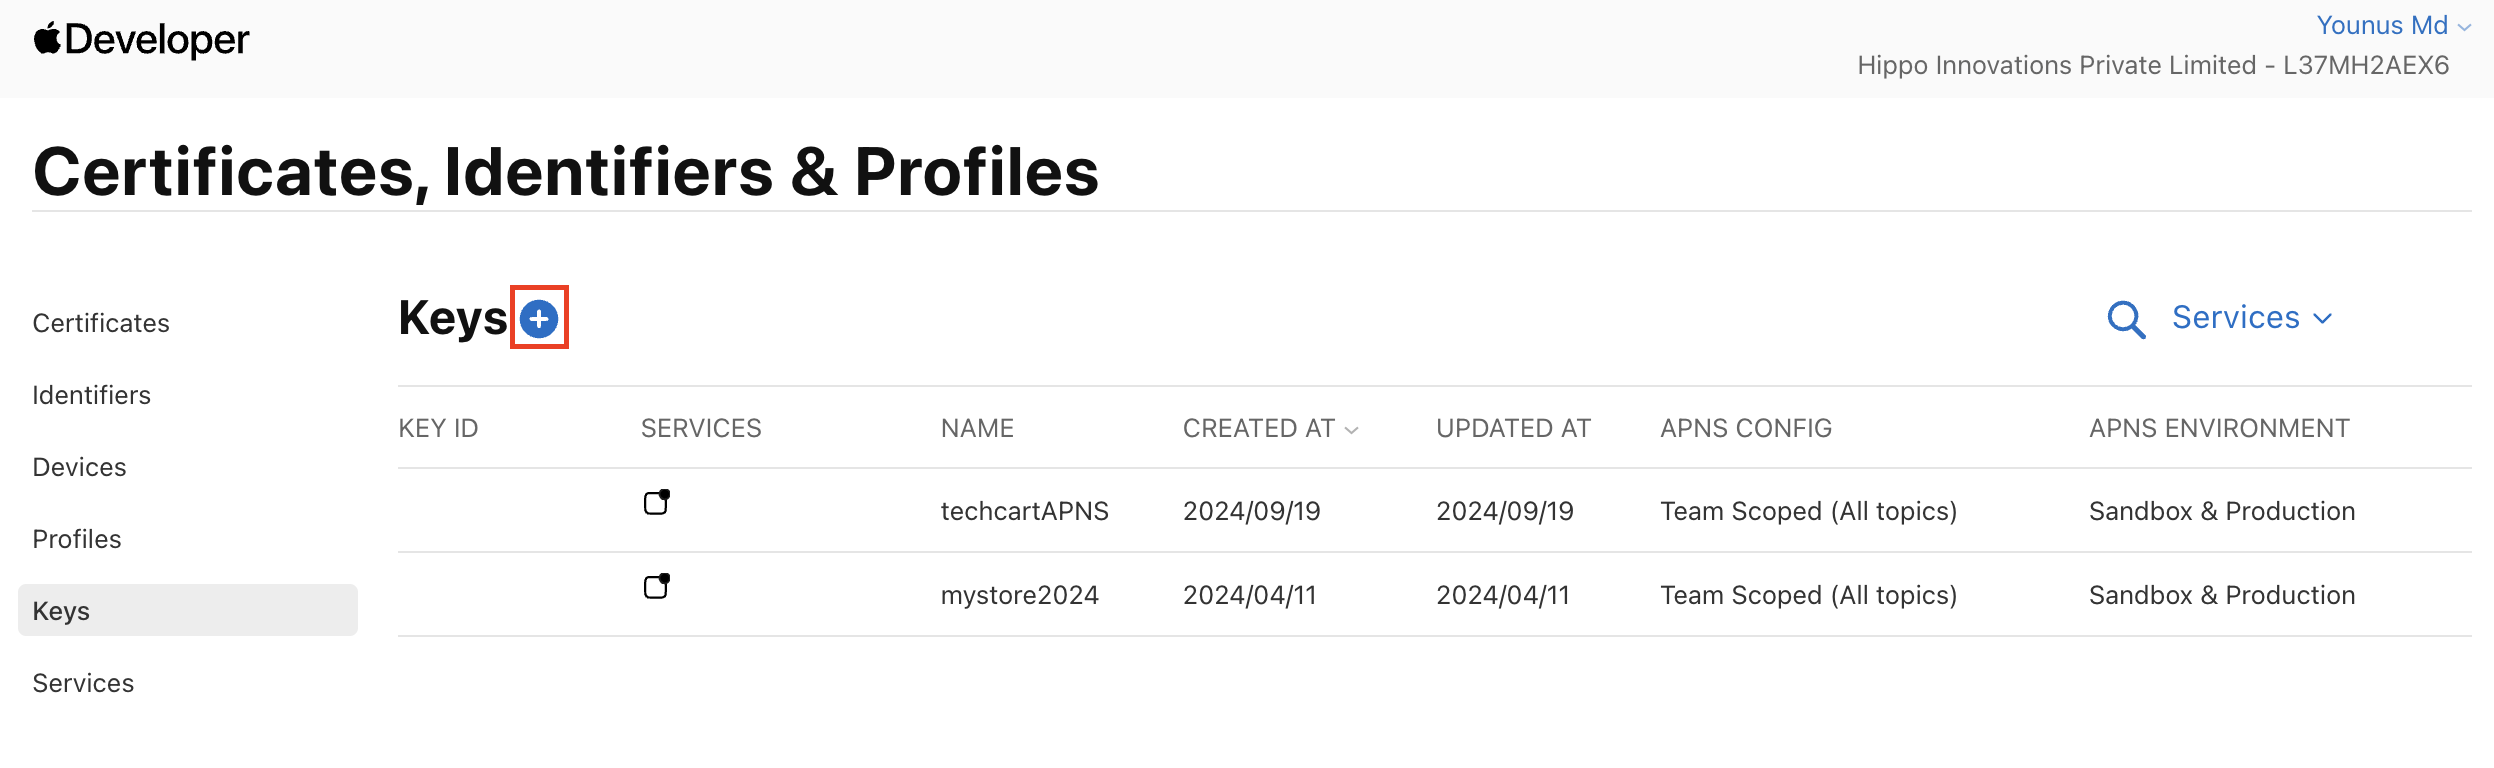
Creating APNs Auth Key
- Go to Keys section and click on the +(plus) icon as shown in the image.
- Input the Key Name select the Apple Push Notifications service (APNs) checkbox and click on Configure as show below.
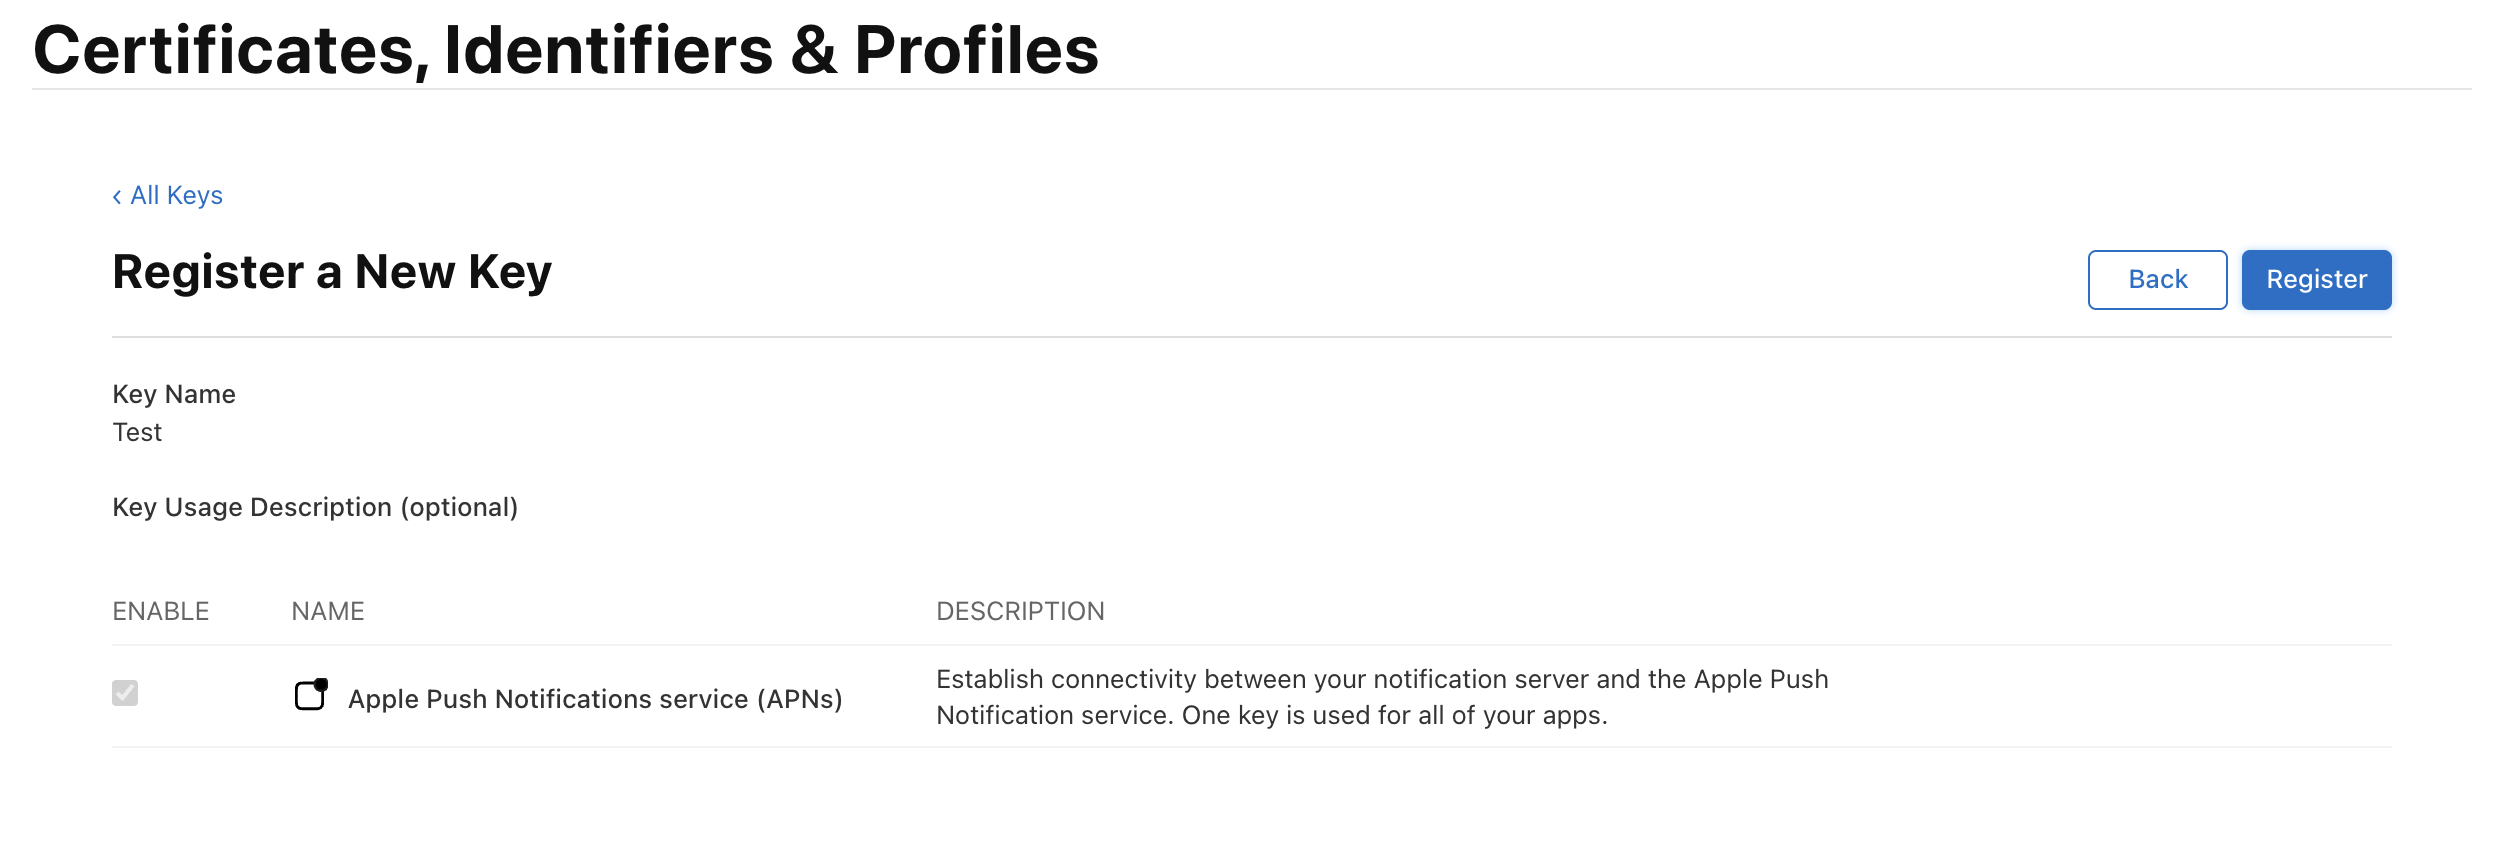
- Once you click the Configure select the environment type as Sandbox & Production and save.
- Now click on Continue then next window appears review the details you have entered and click on Register.
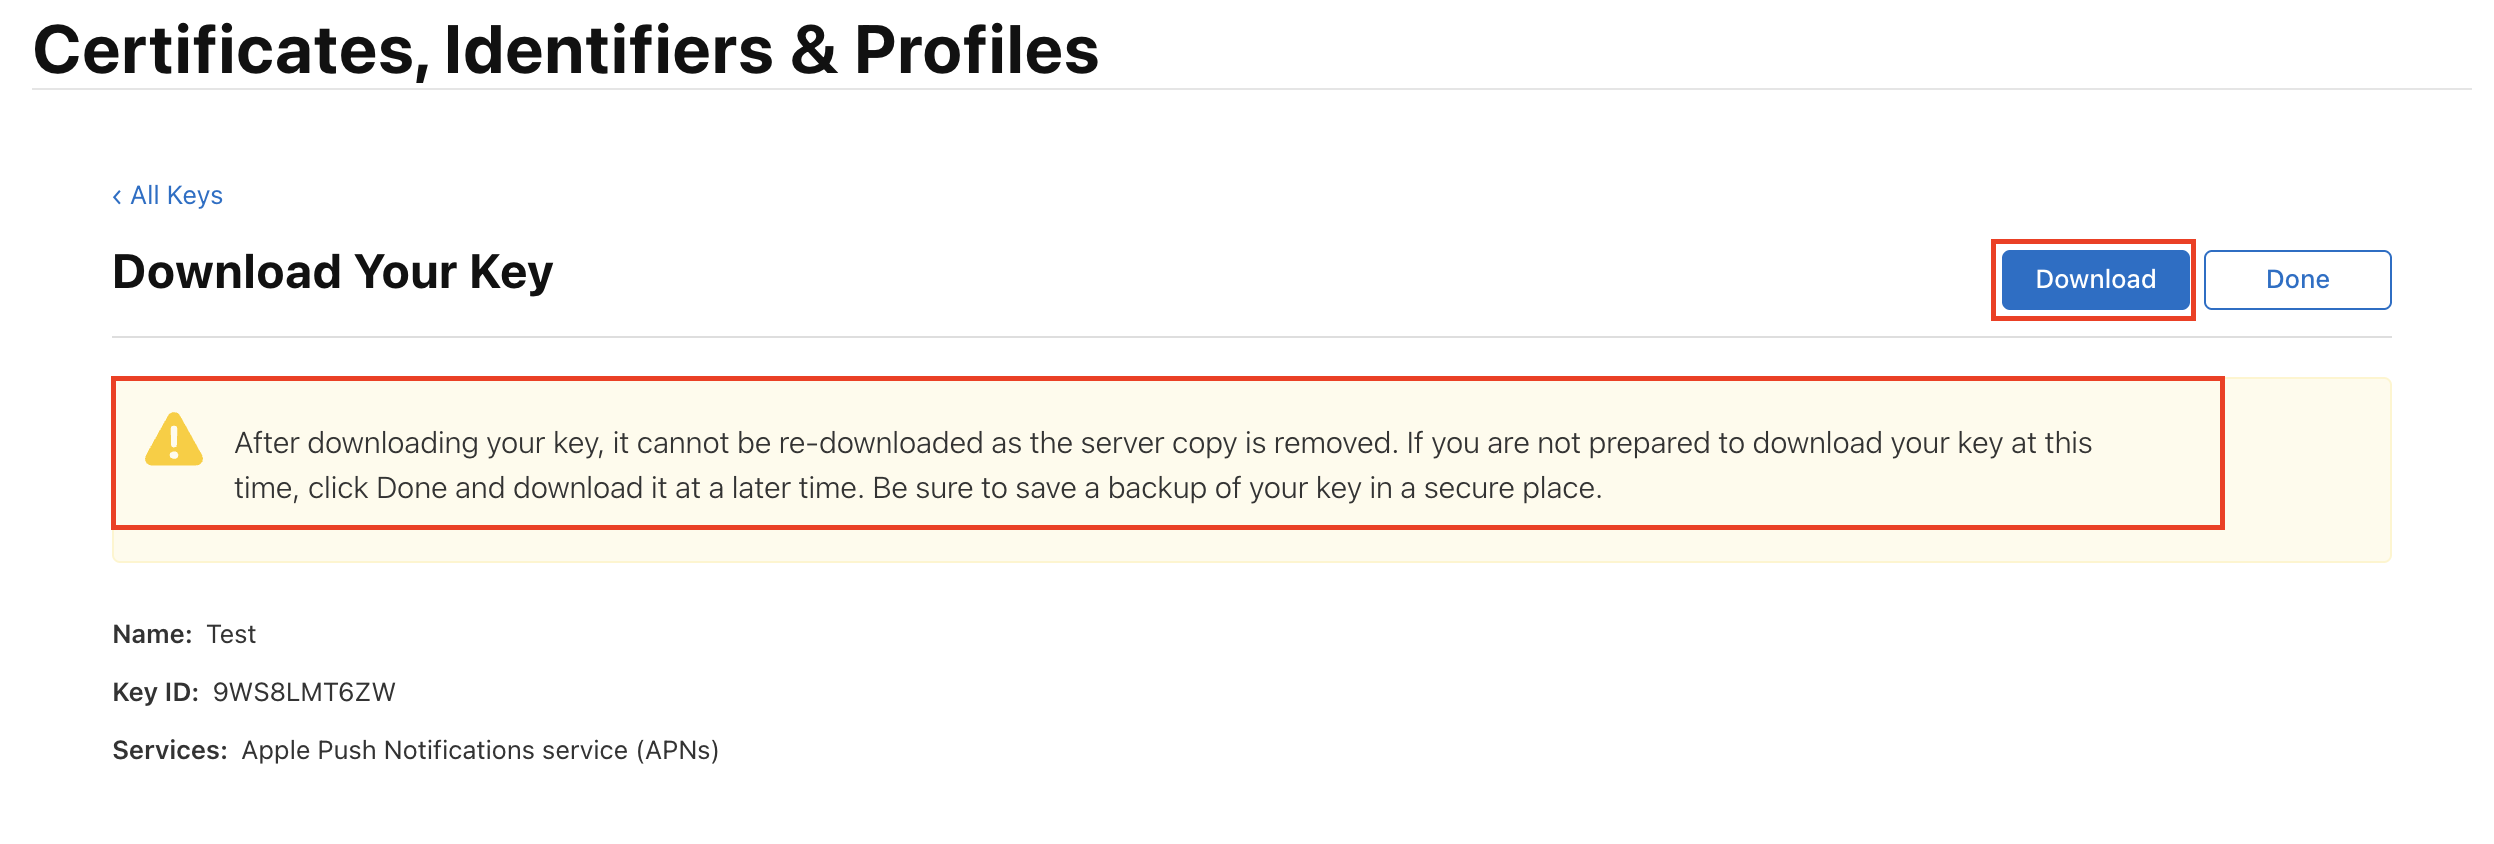
- Once you have registered, you will be able to download it.Please read the warning as it is important in the below image.
- Now this can be used in firebase console to enable push notifications for IOS.