
How to Create a Google Analytics Account
Google Analytics is a free web analytics tool that helps you understand how visitors find and interact with your website. This guide walks you through creating a Google Analytics account and setting up your first website data stream.
Prerequisites
Before you begin, make sure you have:
- A Google account
- Your website URL
- Access to your website's code or a Google Tag Manager account
Step 1: Open Google Analytics
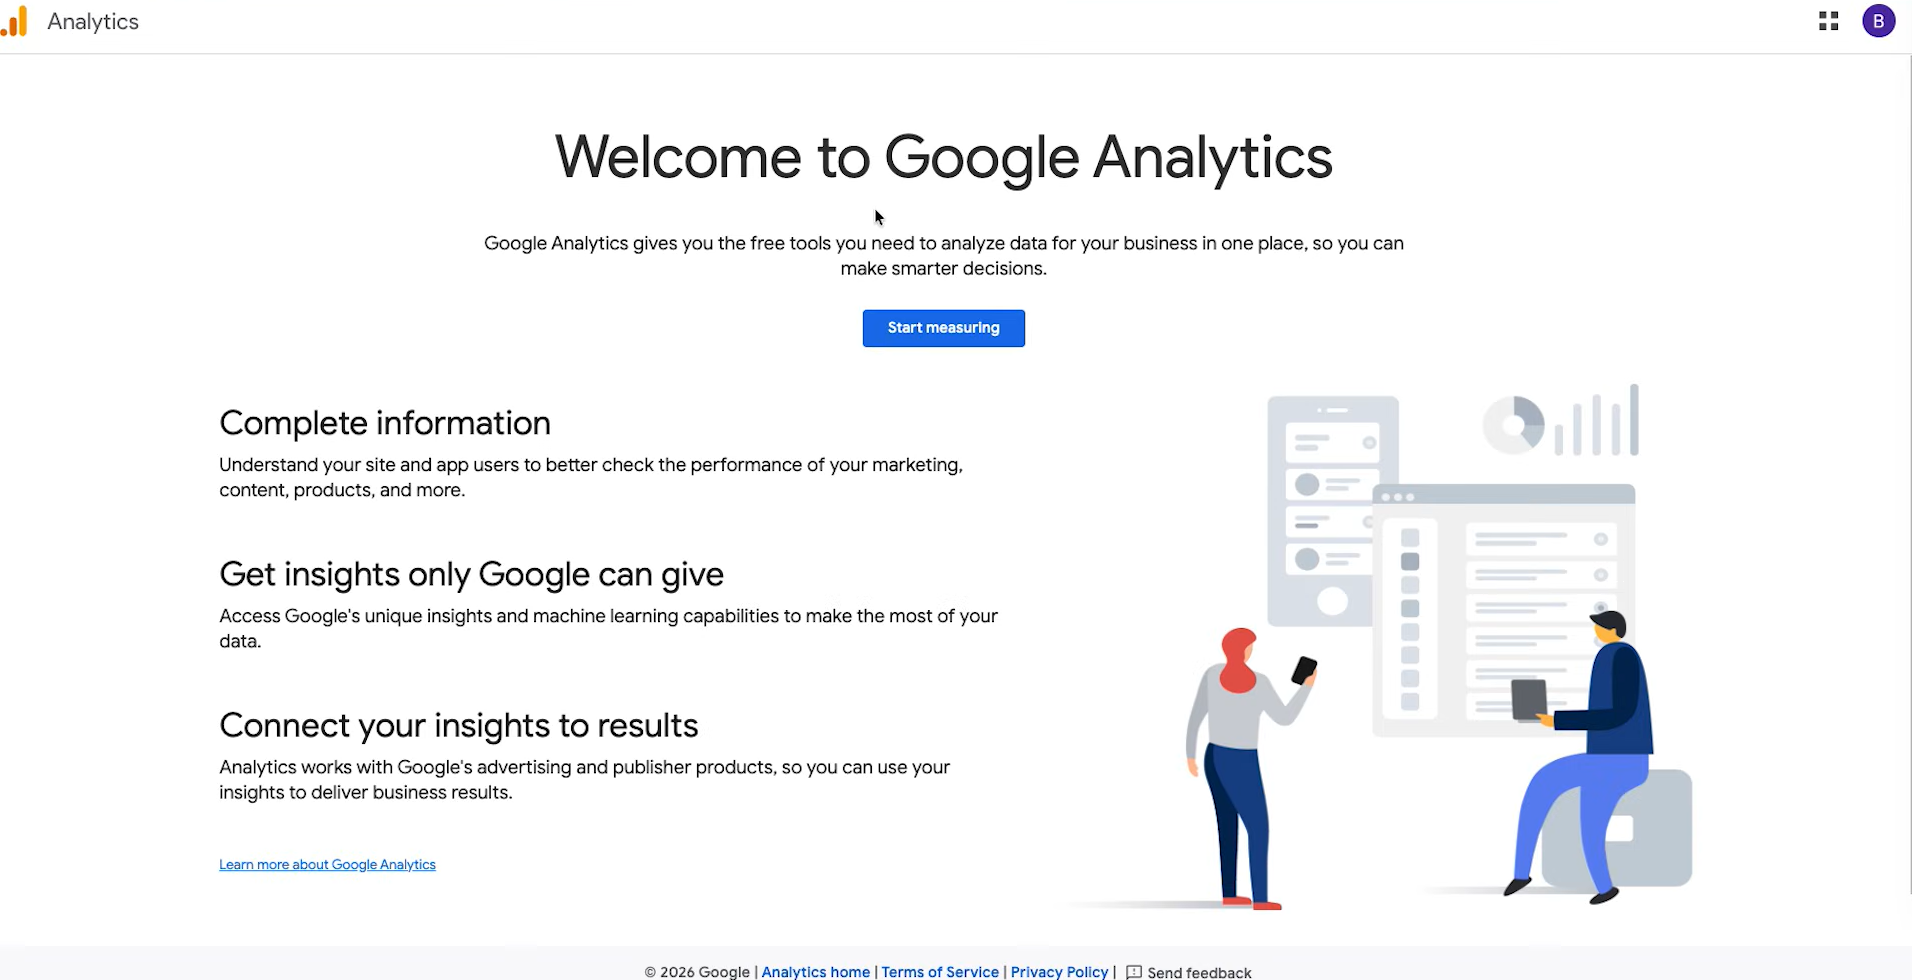
- Open your web browser.
- Search for Google Analytics.
- Open the official Google Analytics website.
- Sign in with your Google account.
- Click Start measuring.
Step 2: Create an Account
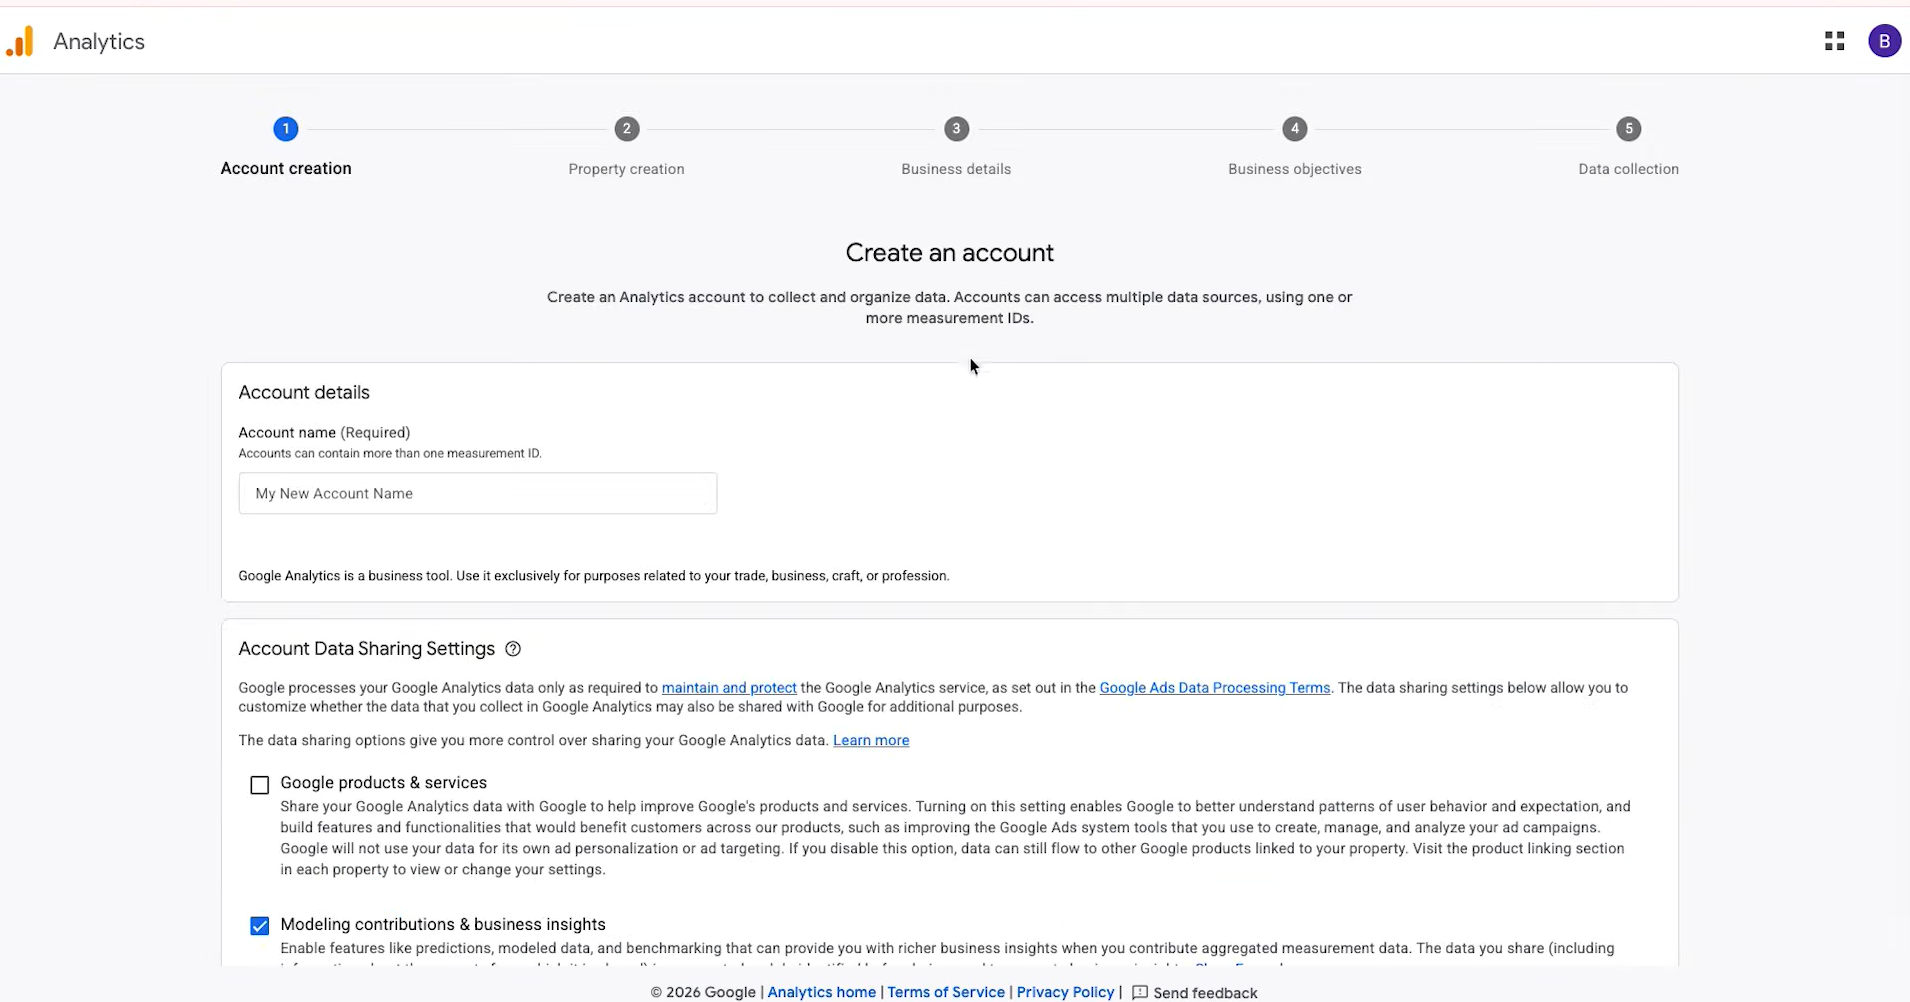
- In the Account name field, enter a name for your account (typically your business or project name).
- Review the Account Data Sharing Settings.
- Select or deselect the checkboxes based on your preferences.
- Click Next.
Step 3: Create a Property
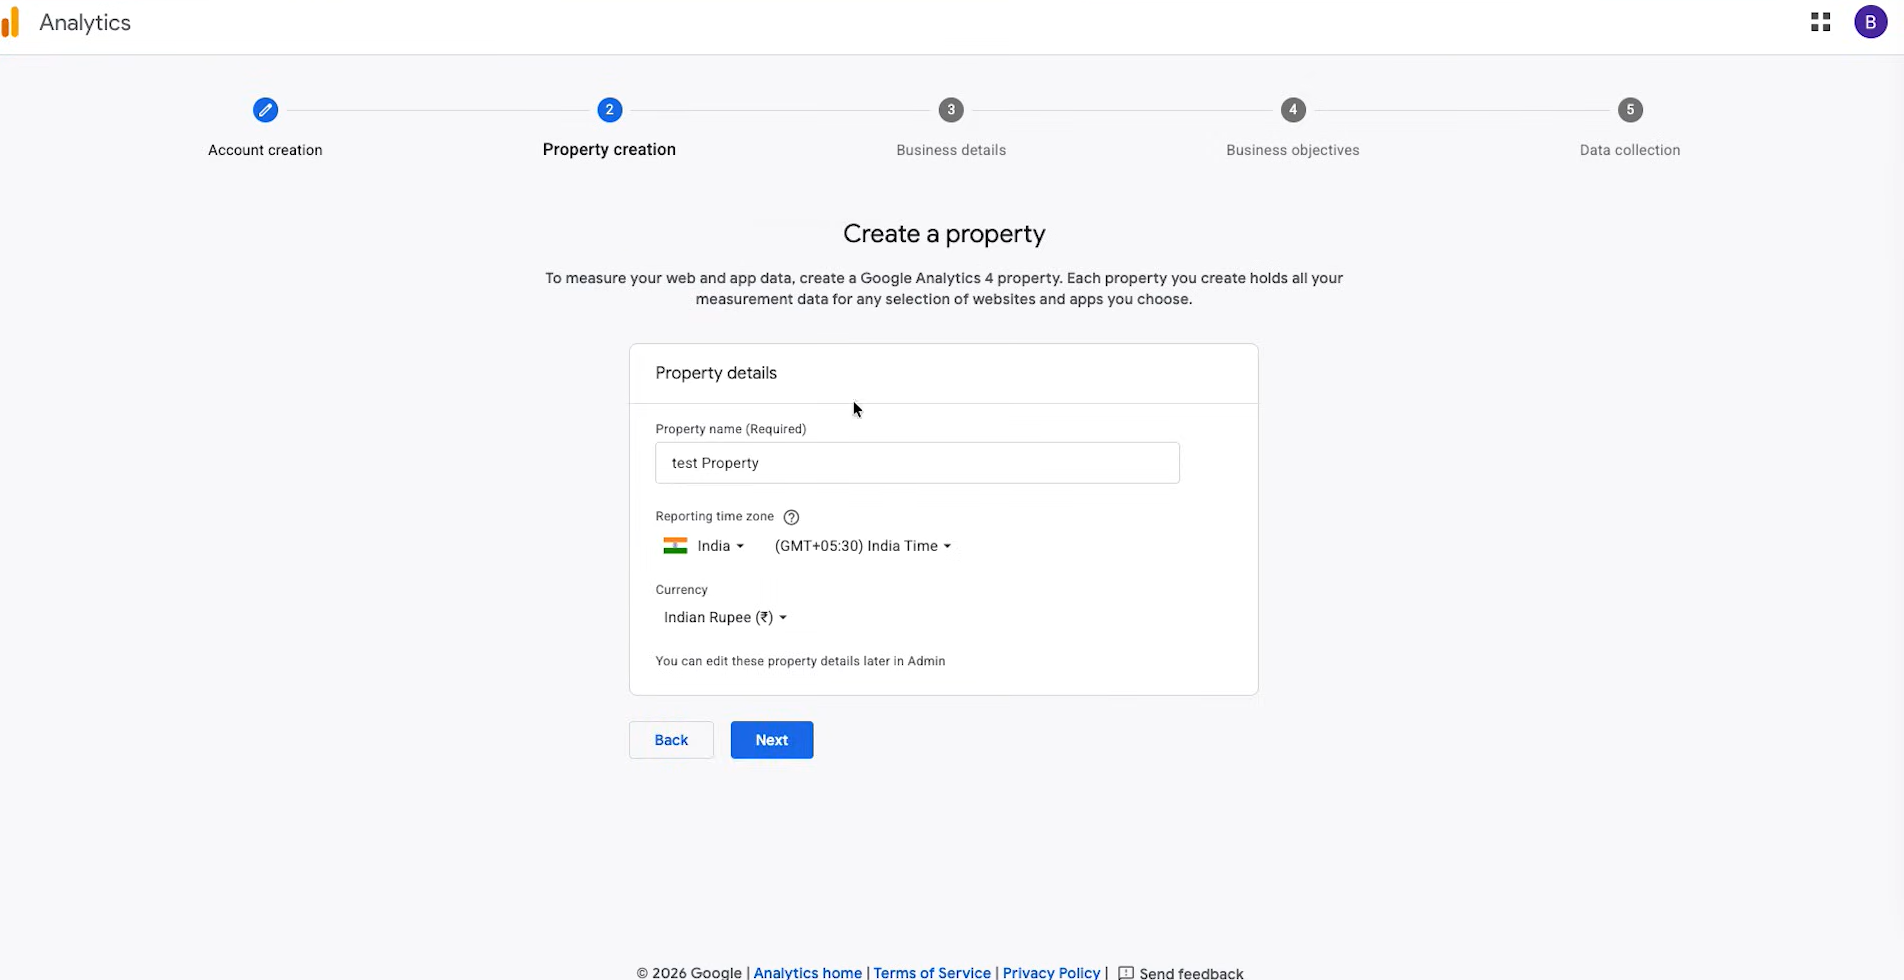
A property is the container that holds all your website's data.
- Enter a Property name.
- Select your Reporting time zone.
- Select your Currency.
- Click Next.
Step 4: Enter Business Details
- Select your Industry category from the drop-down list.
- Choose your Business size.
- Click Next.
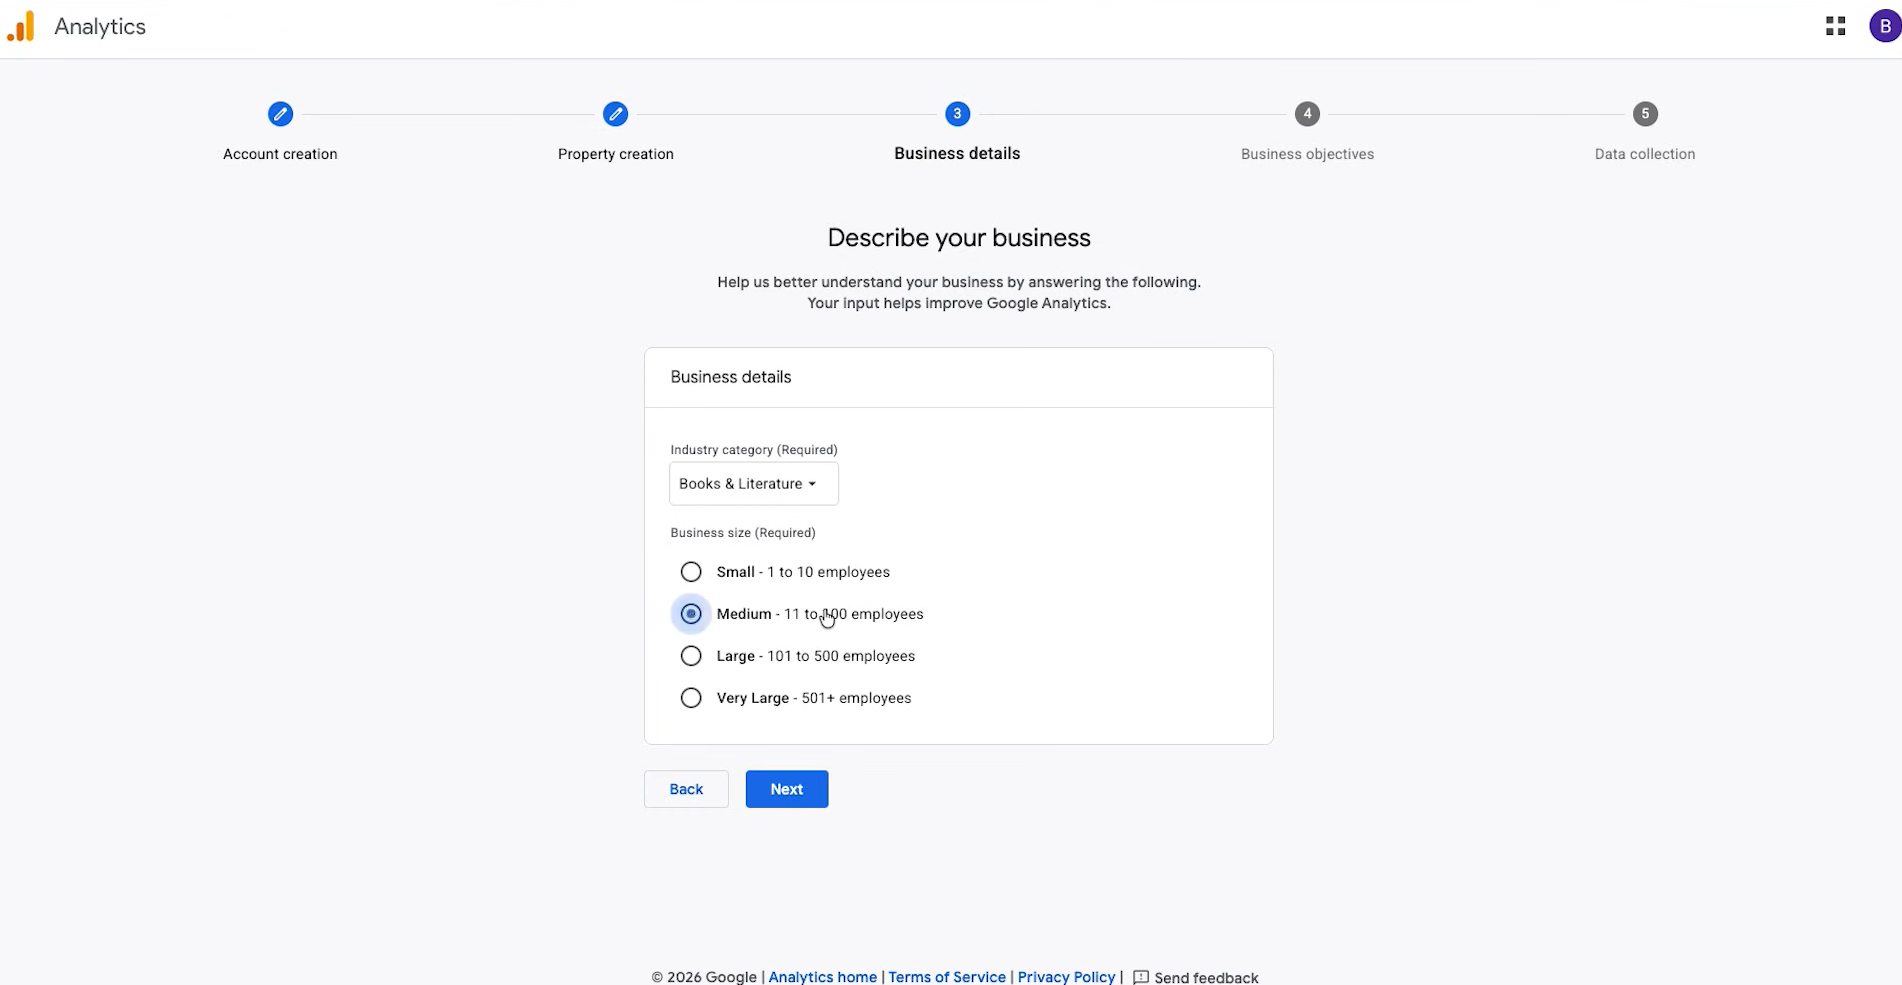
Note: This information helps Google Analytics tailor its recommendations.
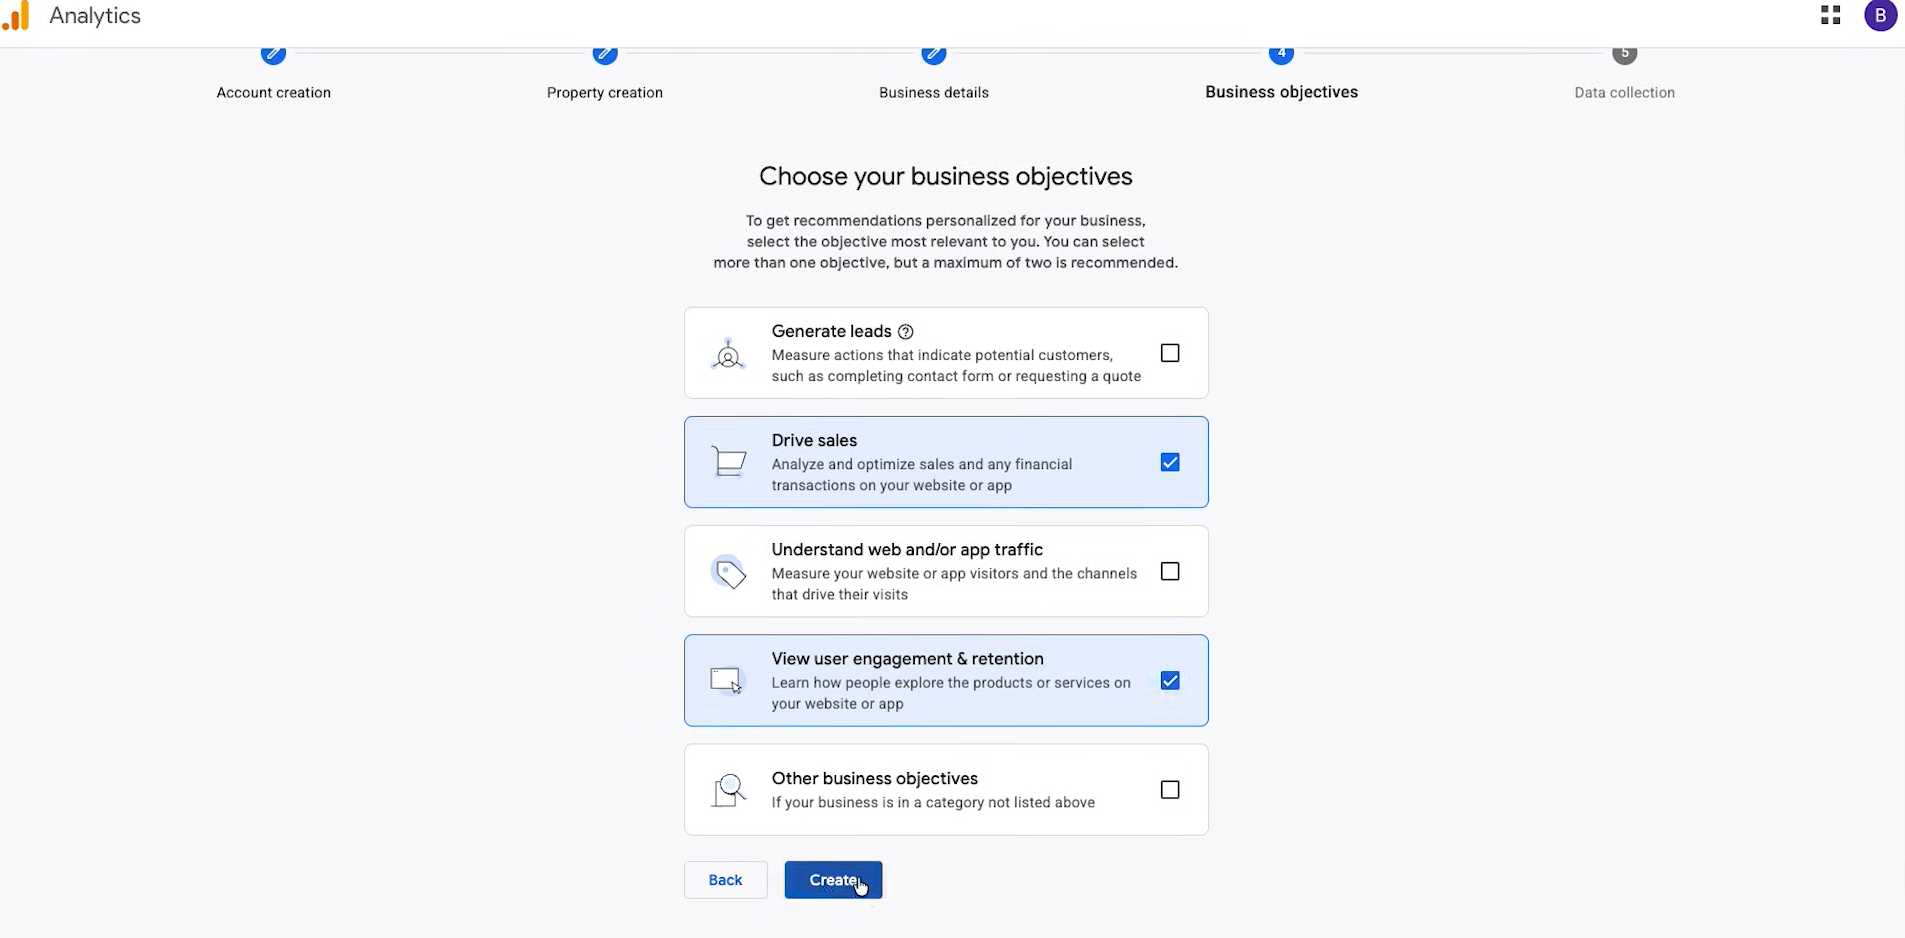
Step 5: Select Business Objectives
- Choose the business objectives you want to measure.
- You can select options such as:
- Drive sales
- Generate leads
- Understand web traffic
- Select one or two objectives that best match your goals.
- Click Create.
- Accept the Terms of Service.
Step 6: Create a Web Data Stream
- Choose where your data will come from.
- Select Web.
- Enter your Website URL.
- Enter a Stream name.
- Ensure Enhanced Measurement is enabled.
- Click Create and continue.
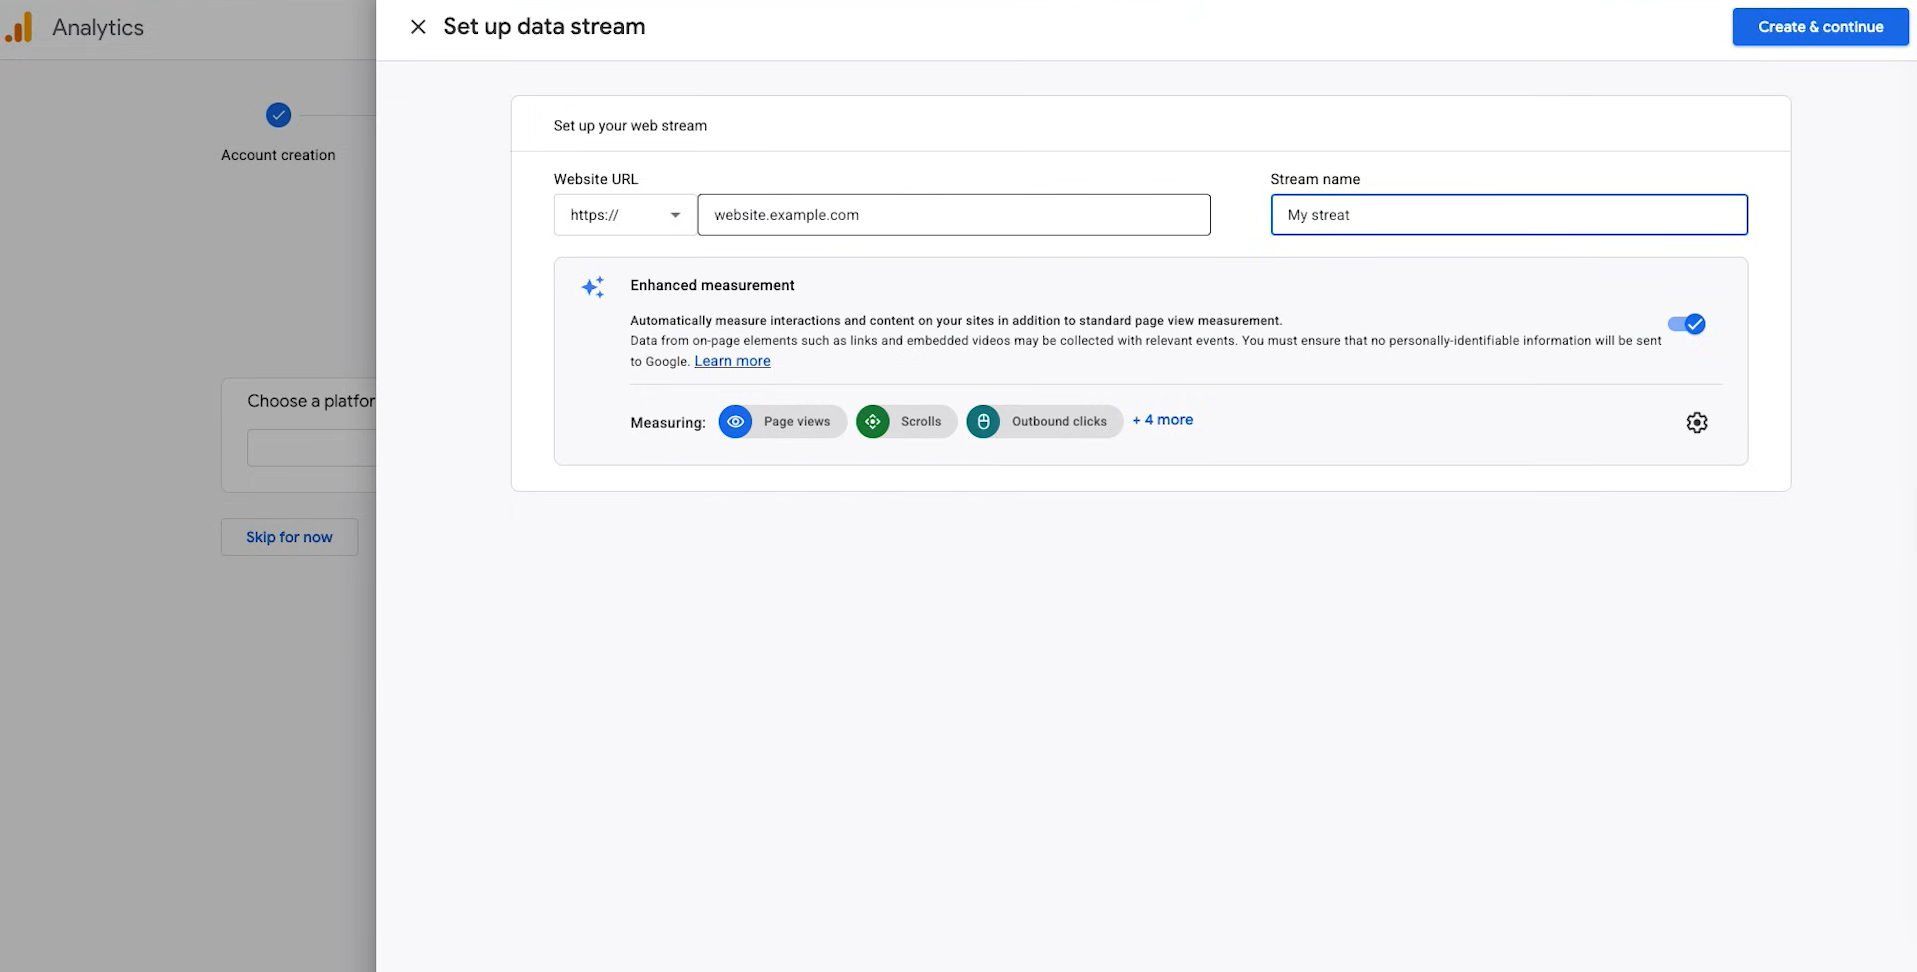
Note: Enhanced Measurement automatically tracks page views, scrolls, and outbound clicks.
Step 7: Install the Google Tag
Google Analytics generates a Google Tag that connects your website to your Analytics account.
Manual Installation: Under Install manually, click the Copy icon to copy the Google Tag. Paste the tag immediately after the <head> element on every page of your website.
Using Google Tag Manager: If you already use Google Tag Manager, you can install the Google Tag through Tag Manager instead.
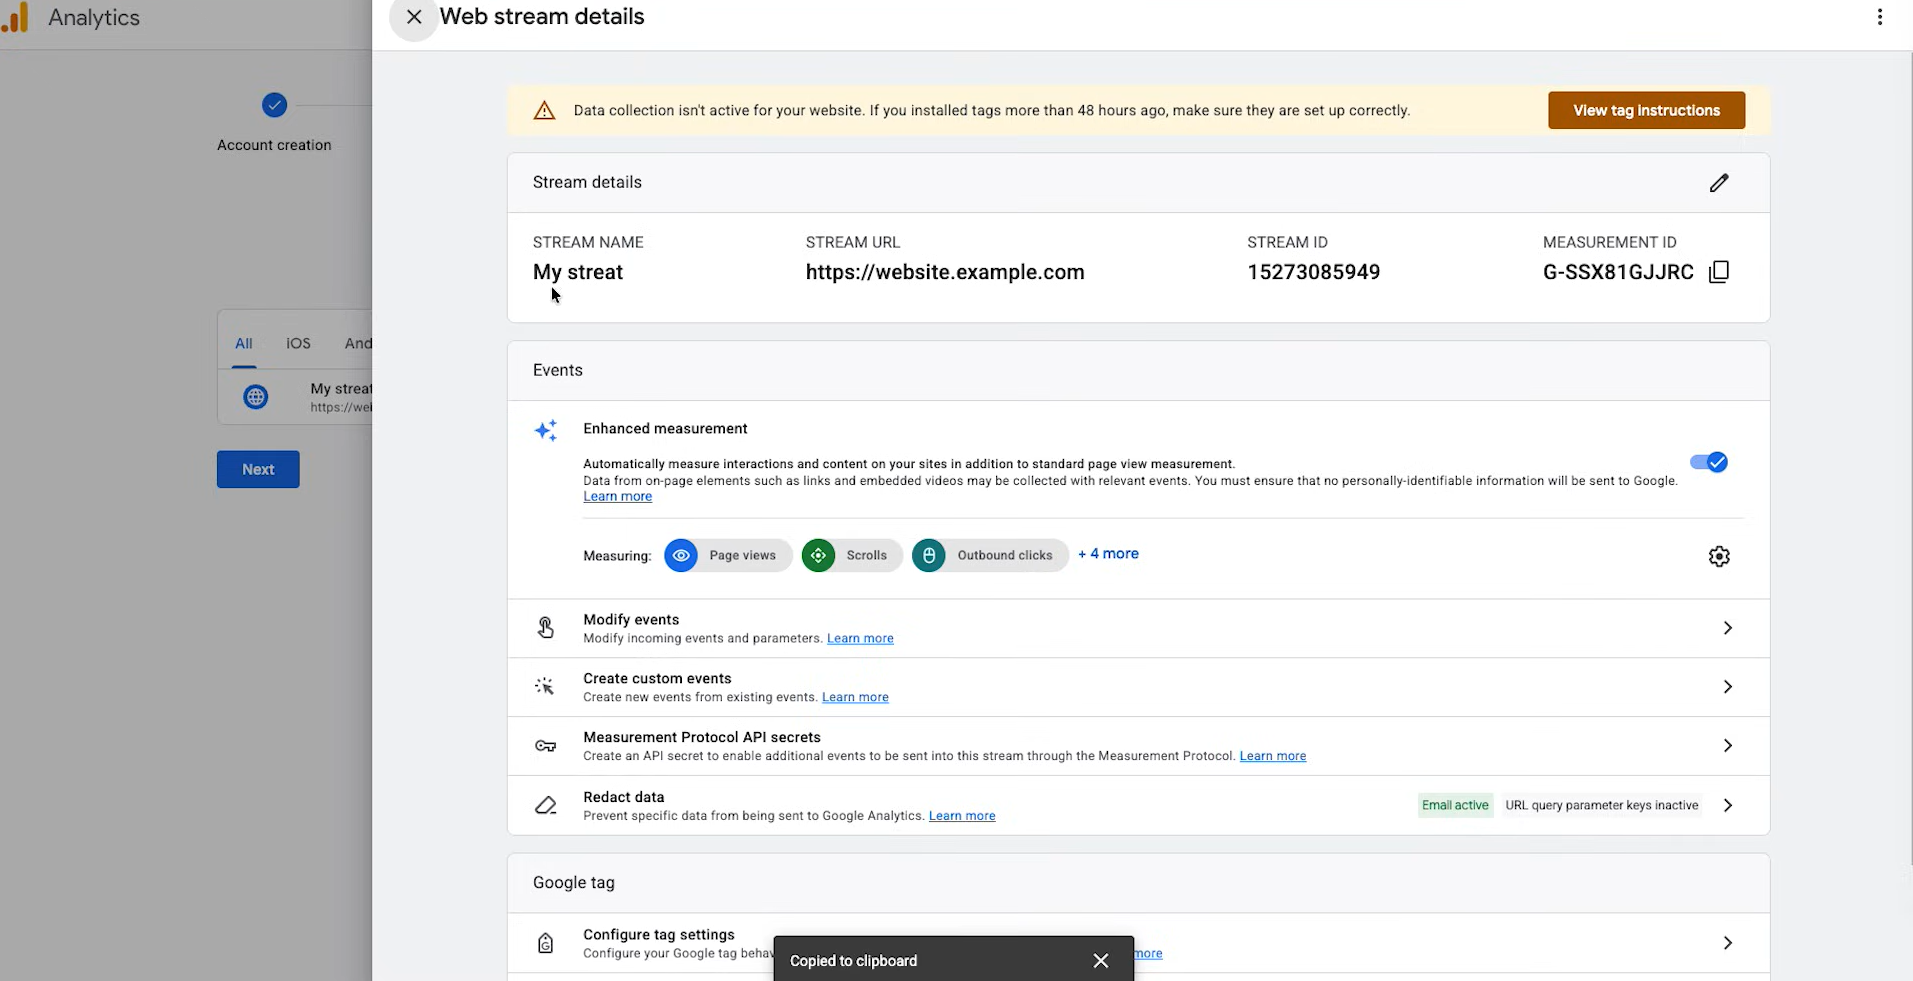
Step 8: Review Web Stream Details
You can review your setup under Web Stream Details.
From this page, you can view Stream Name, Stream URL, Stream ID, Measurement ID (begins with G-) You can also manage events and enhanced measurement settings
Step 9: Access the Analytics Home
- After setup, you'll be taken to the Analytics Home page.
- If prompted, configure your email preferences.
- Click Save.
Note: Initially, Analytics will display "No data has been received yet." This is expected until the Google Tag is installed on your website and begins sending data.
Once data starts flowing, you'll be able to track. Active users, Events and Reports